1 System setup
1.1 Setting up a local fork of the bmm repository
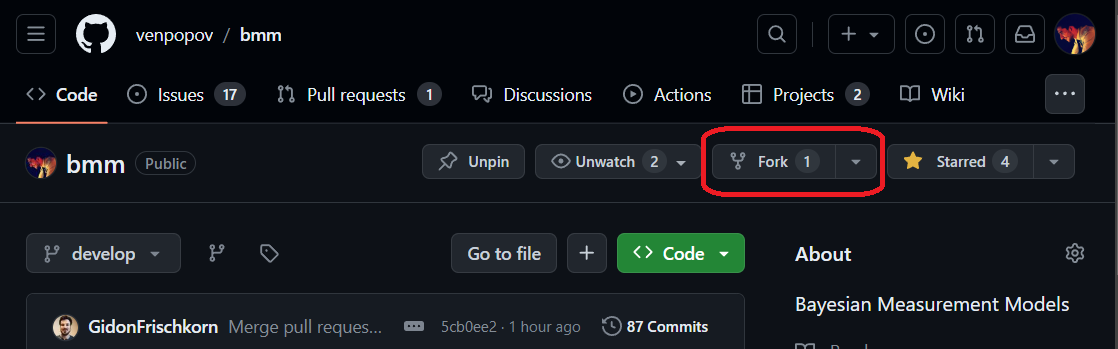
Fork the bmm github repository. This will create a copy of the current development branch into your own github account
Clone your fork to your local machine
Create a new branch for your model, typically named
feature/name-of-my-model
1.2 Package development via RStudio and devtools
The bmm package is setup as an RStudio project. Opening the bmm.Rproj file will open a new RStudio instance, which facilitates package development with a few commands from the devtools package. A great tutorial on package development can be found here. Below is a summary of the most important steps
Make sure you have the devtools package and a few others installed and loaded
install.packages(c("devtools", "roxygen2", "testthat", "knitr"))
library(devtools)
install_dev_deps()
To avoid having to load the devtools package every time, you can add the following code to your
.RprofilefileAs noted here, you can create and open an
.Rprofilefile, if you don’t already have one withLoad the current version of the
bmmpackage based on your local filesyou can use this command whenever you make changes to the package code to see the changes in action. You should not call
library(bmm)or source the files manually, as this will load the installed version of the package, not the one you are developing.Make any changes to the package code that you need to make (elaborated in the next section)
Use
check()to check the package for errors and warningsyou should always ensure that check() produces no errors before submitting a pull request
Use
document()to update the documentation